Introduction
Skullcandy earphones are loved for their robust sound and sleek styles, making them a favorite among audiophiles. However, issues such as intermittent sound, physical damage, and Bluetooth connectivity troubles are common as earphones accumulate wear. This guide provides the essential steps to identify and repair these typical problems yourself, enabling you to save both time and money. We’ll explore common issues, required tools, and a detailed repair process to help you restore your Skullcandy earphones to their original condition.
Common Issues with Skullcandy Earphones
Understanding prevalent problems with Skullcandy earphones is key to an effective repair strategy. Recognizing these issues helps in preparation and application of suitable repair techniques.
-
Sound Problems: Users often report audio cutting out or only one earbud working. Such problems typically root from wire damage or poor connections.
-
Physical Damage: This involves broken ear cushions, cracked casings, or deformed earbuds, impacting both the device’s look and its sound quality.
-
Connectivity Issues: In wireless variants, Bluetooth pairing issues or connectivity drops can occur, but these are usually solvable with basic troubleshooting.
Identifying these common problems helps in choosing the right tools and following effective repair strategies.
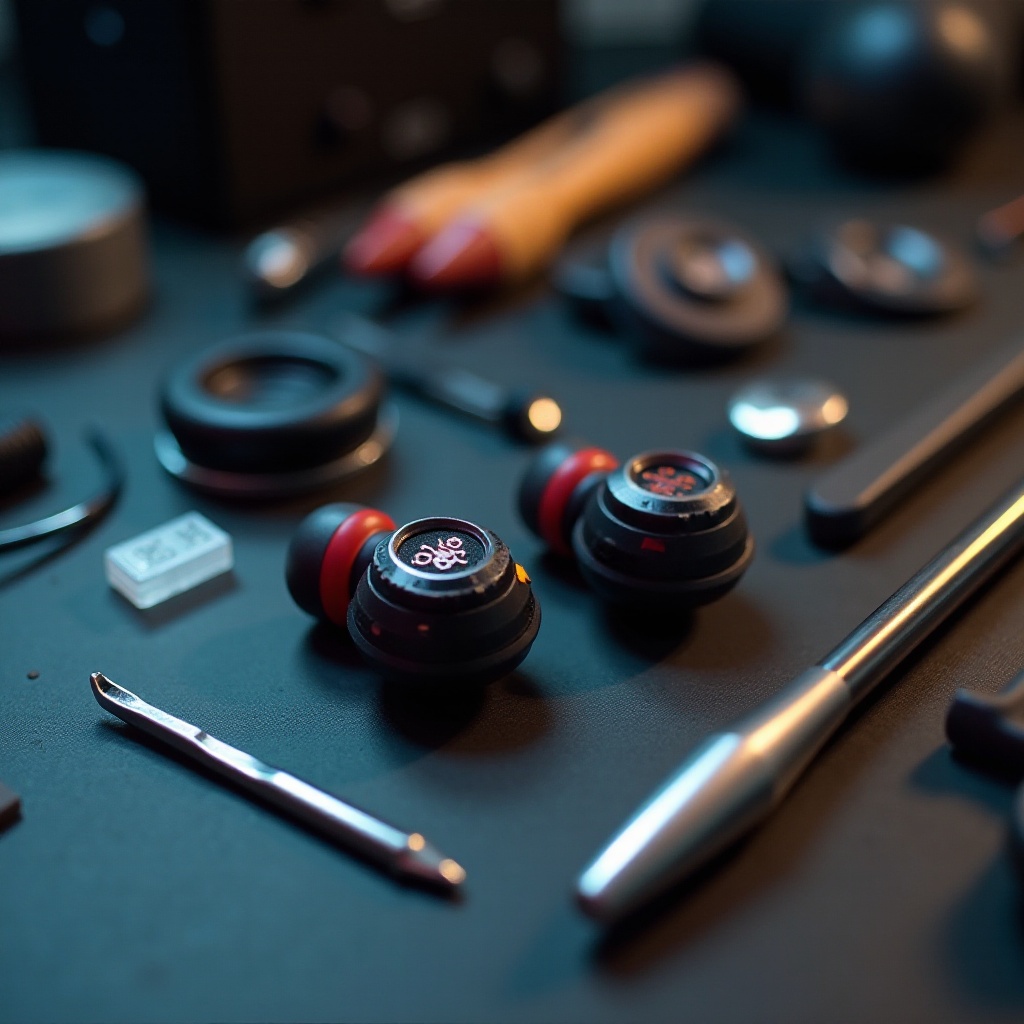
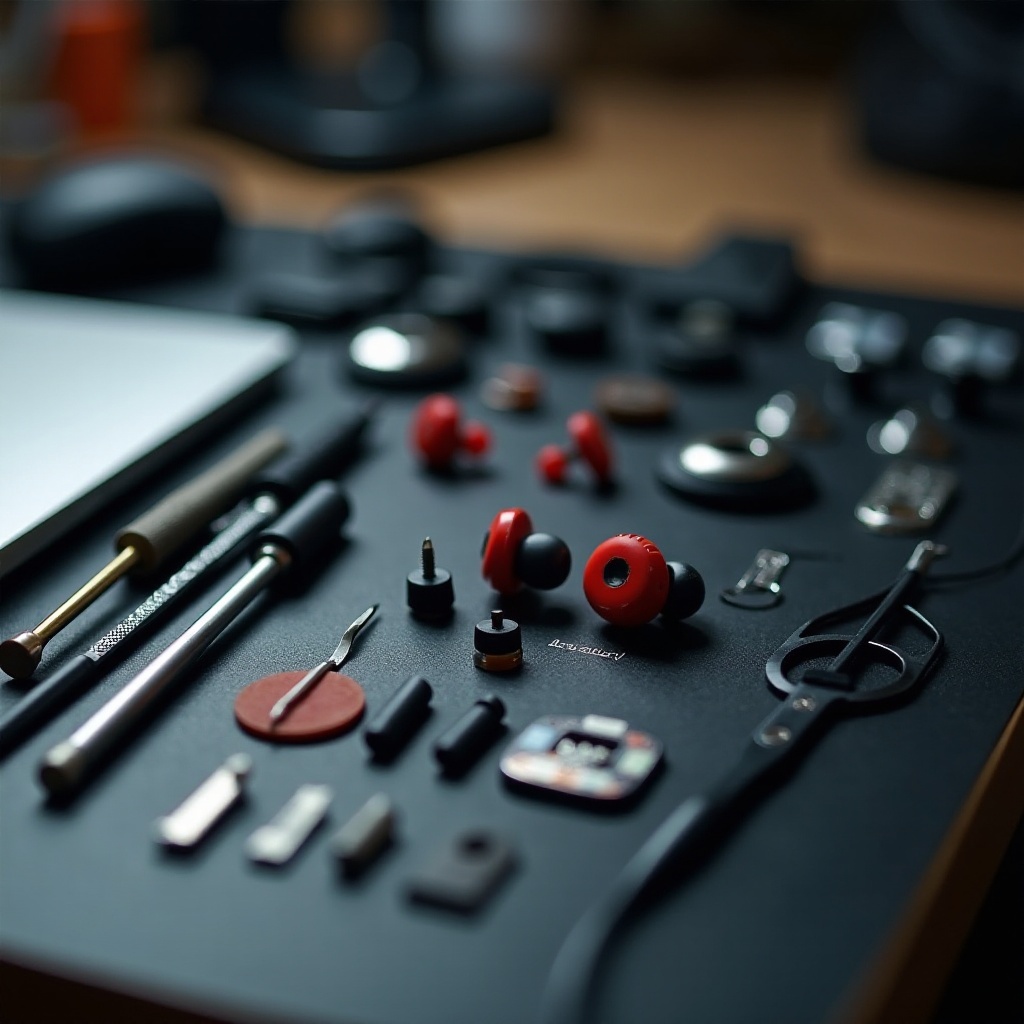
Tools and Materials Required for Repair
Before you begin repairs, ensure you have the following tools and materials ready to make your work more efficient:
- Essential Tools:
- Small screwdriver set
- Soldering iron with solder
-
Wire cutters and strippers
-
Required Spare Parts:
- Replacement audio jack
- Extra wires and cables
-
Replacement ear cushions
-
Safety Equipment:
- Heat-resistant gloves
- Safety goggles
With these tools and materials on hand, you are well-prepared to tackle the specific issues your Skullcandy earphones may present. Now, let’s proceed to pinpointing the specific problem your earphones are experiencing.
Diagnosing the Problem
Accurate problem diagnosis is crucial for successful earphone repair. Here’s how to go about it:
-
Identifying Sound-related Issues:
Check for wire breaks near the audio jack or earbud. Plug in the earphones to a working audio source to test sound output on each side. -
Checking for Physical Damage:
Look for visible cracks or misalignments. Gently test the sturdiness of various parts to identify any loose components. -
Troubleshooting Connectivity Problems:
For Bluetooth models, ensure the unit is charged and try resetting it. Look into software updates that could provide fixes for connectivity problems.
Identifying the problem accurately simplifies the repair process by permitting a focused approach on resolving the specific issue.
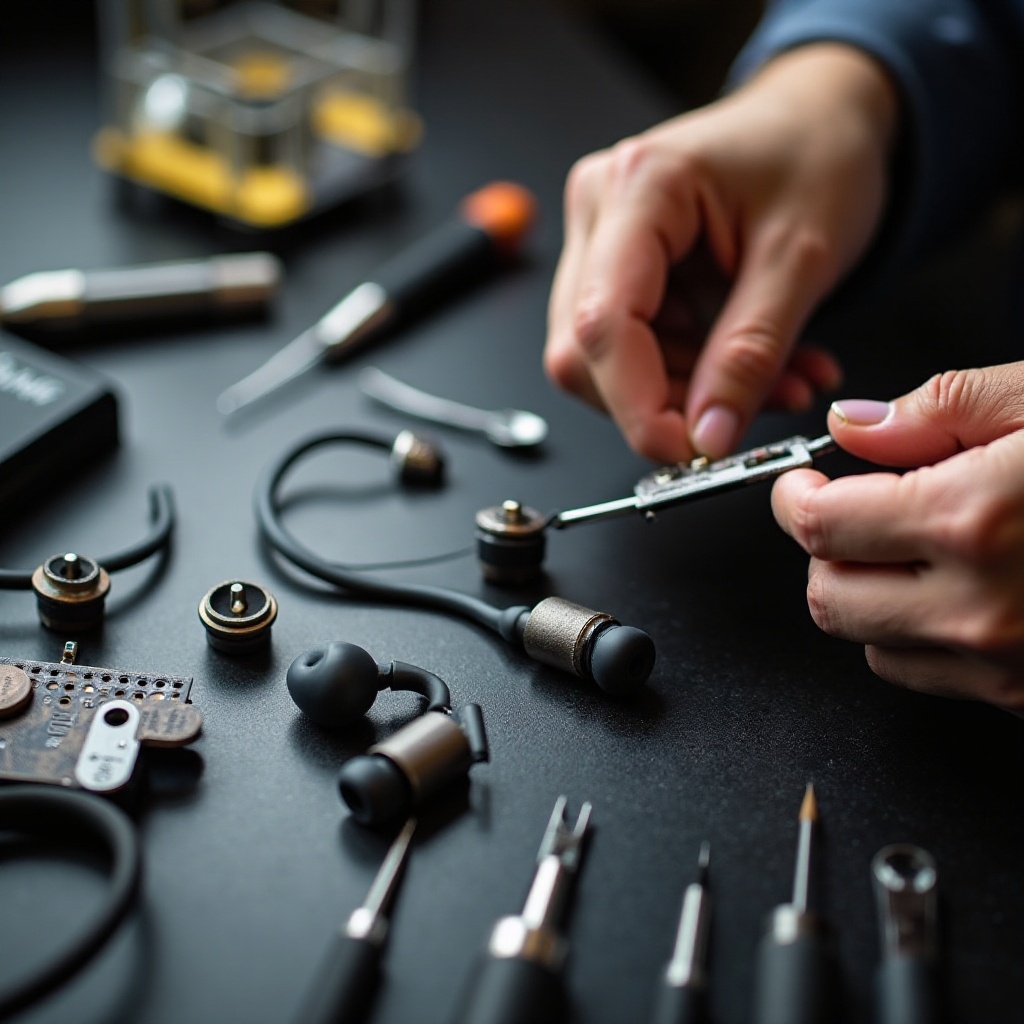
Step-by-Step Repair Process
With the problem diagnosed, follow these specific repair guides based on your findings:
- Repairing Audio Issues:
- Bend the wire near the audio jack gently to identify breaks. To fix, strip the wire and solder the connections back together securely.
-
Sound disruptions often stem from exposed wires. Post repair, cover the exposed areas with electrical tape or heat shrink tubing.
-
Addressing Physical Damage:
- Swap out worn ear cushions by pulling them off and snapping new ones into place effortlessly.
-
For cracked casings, apply a small amount of super glue to bond the broken parts. Allow sufficient drying time before using them again.
-
Solving Connectivity and Bluetooth Issues:
- Reboot the Bluetooth device by switching it off and on again. Clear the device from the paired list and reattempt pairing.
- Persisting firmware problems can often be alleviated by checking Skullcandy’s website for applicable software updates.
With these repairs, your Skullcandy earphones should resume optimal function. Consistent maintenance will help maintain this performance.
Maintenance Tips for Longevity
Incorporating preventive measures ensures your Skullcandy earphones remain in ideal condition over time:
-
Proper Storage Techniques: Store your earphones in a protective case to prevent tangling and damage. Avoid tight, cramped storage spaces and putting them under heavy items.
-
Regular Cleaning Methods: Wipe down the earphones with a soft, microfiber cloth. Use a small brush to gently clean debris from the audio mesh.
Regular attention to these maintenance tasks will prolong the lifespan of your earphones, reducing the need for frequent repairs.
Conclusion
By following this detailed guide, you can address and fix common issues with your Skullcandy earphones yourself. Empower yourself with DIY repair skills, save money, and keep your earphones working like new with periodic maintenance. Your audio experience shouldn’t be compromised, and with these steps, it won’t be.
Frequently Asked Questions
How can I prevent my Skullcandy earphones from getting damaged?
Proper storage, regular cleaning, and avoiding excessive pulling or bending of the cord can prevent most damage.
What should I do if both earbuds stop working?
Check for software updates and ensure the device is fully charged. If issues persist, assess the wiring and connections.
How often should I clean and maintain my Skullcandy earphones?
Clean them weekly and perform a thorough check monthly to ensure longevity and optimal sound quality.