Introduction
Navigating your Chromebook includes understanding how to manage notifications. Notifications alert us to important events and messages from various applications. Whether it’s a chat message, email, system update, or app notification, knowing how to manage these efficiently can significantly enhance your Chromebook experience.
Accessing and customizing these alerts ensures that you stay updated without feeling overwhelmed. This guide will help you locate notifications on your Chromebook, understand notification icons, customize settings, manage advanced options, and troubleshoot common issues.

Accessing the Notification Center on Your Chromebook
Finding your notifications on a Chromebook is straightforward. Notifications typically appear in the bottom-right corner of your screen. Here’s how you can access them:
- Locate the Status Area: The Status Area is on the lower right of the screen, also known as the system tray. This area shows the time, battery status, and network connectivity icons.
- Click the Status Area: By clicking on the status area, a small panel pops up. You’ll see icons representing different alerts here.
- Open the Notification Center: Clicking any notification icon or the bell icon will open the full Notification Center where all your alerts are listed.
Consistently checking this area ensures you won’t miss important updates. Now that we know how to access notifications let’s delve into understanding what the different notification icons mean.
Understanding Chromebook Notification Icons
Chromebooks use a variety of icons to signal different types of notifications. Recognizing these at a glance helps you prioritize your attention:
- Bell Icon: Represents general notifications. Clicking it shows an expanded list of all notifications.
- App-Specific Icons: These indicate notifications from specific apps. For example, a Gmail icon will appear if you receive an email.
- System Alert Icon: Signifies important system alerts that need immediate attention, such as software updates or security warnings.
- Battery Icon with Exclamation Mark: Indicates low battery. It’s a subtle reminder to plug in your device.
Understanding these icons helps you quickly interpret the importance and urgency of a notification without interrupting your workflow. Now, let’s explore how you can customize these notifications to suit your preferences.
Customizing Notification Settings
Customizing your Chromebook’s notification settings allows you to create an ideal balance between staying informed and avoiding distractions. Here’s how to do it:
Turning Notifications On/Off for Apps
- Open Settings: Click on the status area, then the gear icon to open Settings.
- Navigate to Apps: Scroll down and select ‘Apps’.
- Manage Notifications: Select the app you want to adjust, then toggle notifications on or off.
Adjusting Notification Sounds
- Open Settings: Repeat the steps to open Settings.
- Navigate to Device: Click on ‘Device’ and then ‘Sound’.
- Adjust Sound Settings: Customize the volume or turn off sound for notifications.
These steps help you control not only which notifications you receive but also how they alert you. But there are more advanced options to explore for managing notifications effectively.
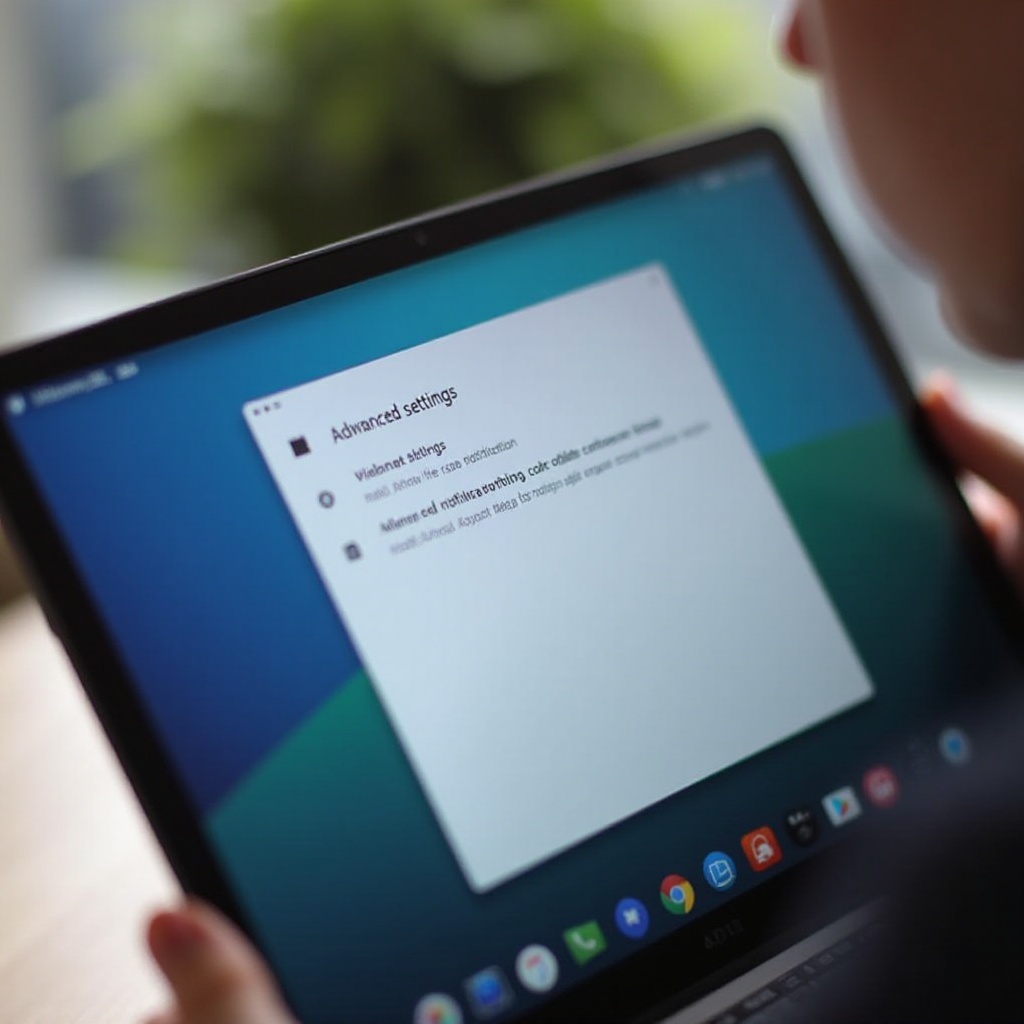
Managing Advanced Notification Settings
For a more structured notification management, Chromebooks come with advanced settings. These options help you fine-tune your notifications:
Using Do Not Disturb Mode
- Access Quick Settings: Click on the status area.
- Toggle Do Not Disturb: Find the ‘Do Not Disturb’ button and toggle it on. This will silence all notifications temporarily.
Prioritizing Important Notifications
- Open Notification Settings: Open Settings, navigate to ‘Device’, and then ‘Notifications’.
- Set Priorities: Select specific apps and assign them high, medium, or low priority based on their importance.
Employing these advanced settings ensures that you are disturbed only by critical alerts while keeping others at bay. Still, sometimes, notifications might not work correctly. Hence, let’s discuss how to troubleshoot these issues next.
Troubleshooting Notification Issues
Despite your best efforts, you may encounter problems with notifications. Here’s how to troubleshoot and fix them:
Common Problems and Fixes
- Notifications Not Showing Up:
- Check Notification Settings: Ensure that notifications are enabled for the app.
-
Restart Your Chromebook: Sometimes, a simple restart can fix minor issues.
-
Notifications are Delayed:
- Check Network Connection: Ensure your Chromebook is connected to the internet.
- Update Chrome OS: Ensure your Chromebook has the latest software update.
Resetting Notification Settings
If issues persist, resetting your notifications might be the best option:
1. Open Settings: Access the Settings menu and navigate to ‘Device’.
2. Reset Notifications: Look for an option to reset notifications to default.
These troubleshooting steps help resolve common notification issues, ensuring a seamless experience. Now, let’s wrap up our guide with a concise conclusion.

Conclusion
Managing notifications on your Chromebook ensures you stay informed while maintaining focus. Knowing how to access, understand, and customize notifications offers a significant productivity boost. Advanced settings, like Do Not Disturb and notification prioritization, give you greater control, allowing for an optimal notification experience tailored to your needs. Should issues arise, troubleshooting steps can effectively resolve them, ensuring you never miss an essential update.
Frequently Asked Questions
How do I clear all notifications on my Chromebook?
To clear all notifications quickly, click on the status area to open the Notification Center. At the top, you’ll see a ‘Clear All’ option. Click on it and all your current notifications will be dismissed.
Can I receive notifications from my smartphone on my Chromebook?
Yes, using the ‘Better Together’ feature enables you to receive phone notifications on your Chromebook. Go to Settings, select ‘Connected Devices,’ and follow the instructions to link your smartphone.
How do I disable notifications during certain hours?
To disable notifications during specific hours, use the ‘Do Not Disturb’ mode or adjust your notification preferences in Settings to ensure that alerts do not disturb you during the desired hours.