Introduction
Many developers and server administrators encounter problems when trying to install XAMPP on their MacBooks. This issue can be a significant roadblock, especially for those who rely on XAMPP for local web development. This guide aims to provide comprehensive steps to address these installation issues effectively. By following this guide, you can ensure a smooth installation process and get your local development environment up and running without any hassles.

Understanding XAMPP and Its Requirements
XAMPP is a completely free, open-source, and easy-to-install Apache distribution containing MariaDB, PHP, and Perl. It’s widely used for local server testing and development. However, to ensure smooth installation on a MacBook, there are several requirements you need to meet.
Firstly, ensure your MacBook runs on at least macOS 10.13 (High Sierra) or later. The XAMPP installer might not be compatible with older macOS versions. Secondly, XAMPP requires sufficient disk space and appropriate permissions to install and function properly.
Being aware of these prerequisites can prepare you for potential installation issues and help troubleshoot any problems efficiently.
Common Installation Problems
There are several common problems users face when installing XAMPP on a MacBook. Knowing these can help you identify and resolve issues more effectively.
1. Compatibility Issues: These arise when your macOS version does not support the XAMPP version you’re trying to install.
2. Disk Space Issues: Inadequate disk space can halt the installation process.
3. Permission Denied Errors: Lack of sufficient permissions can prevent the installer from making necessary changes to your system.
4. Port Conflicts: XAMPP needs specific ports to function, and conflicts arise if these ports are already in use.
5. Corrupt Installation Files: Incomplete or corrupt downloads of the XAMPP installer can lead to installation failures.
Understanding these issues can help you plan your troubleshooting efforts more effectively.
Preparing for Installation
Proper preparation can mitigate many of the common issues users face during installation. Here’s how you can prepare:
1. Check Your macOS Version: Verify that your system is running at least macOS 10.13.
2. Disk Space: Ensure you have at least 2GB of free disk space to accommodate XAMPP and any projects.
3. Permissions: Verify that your user account has the necessary admin privileges to install software.
4. Download Integrity: Only download XAMPP from the official Apache Friends website to ensure file integrity. Verify checksums if they are provided.
These steps will help minimize potential issues during the installation process.
Step-by-Step Troubleshooting Guide
If you encounter issues during installation, follow these steps to troubleshoot:
Verify System Compatibility
- Check your macOS version. XAMPP supports macOS 10.13 and later.
- If you’re running an outdated version, update your macOS from the Apple menu under ‘System Preferences.
Check Disk Space and Permissions
- Ensure you have at least 2GB of free disk space. You can check your disk space through ‘About This Mac’ > ‘Storage.
- Confirm you have admin rights by attempting to install another application or checking your account settings in ‘System Preferences.
Fixing Port Conflicts
- XAMPP typically uses ports 80 and 443 for Apache. Ensure these ports are not in use:
- Open Terminal.
- Use the command
sudo lsof -i :80andsudo lsof -i :443to check if any applications are using these ports. - If ports are in use, terminate the applications or reconfigure them to use different ports.
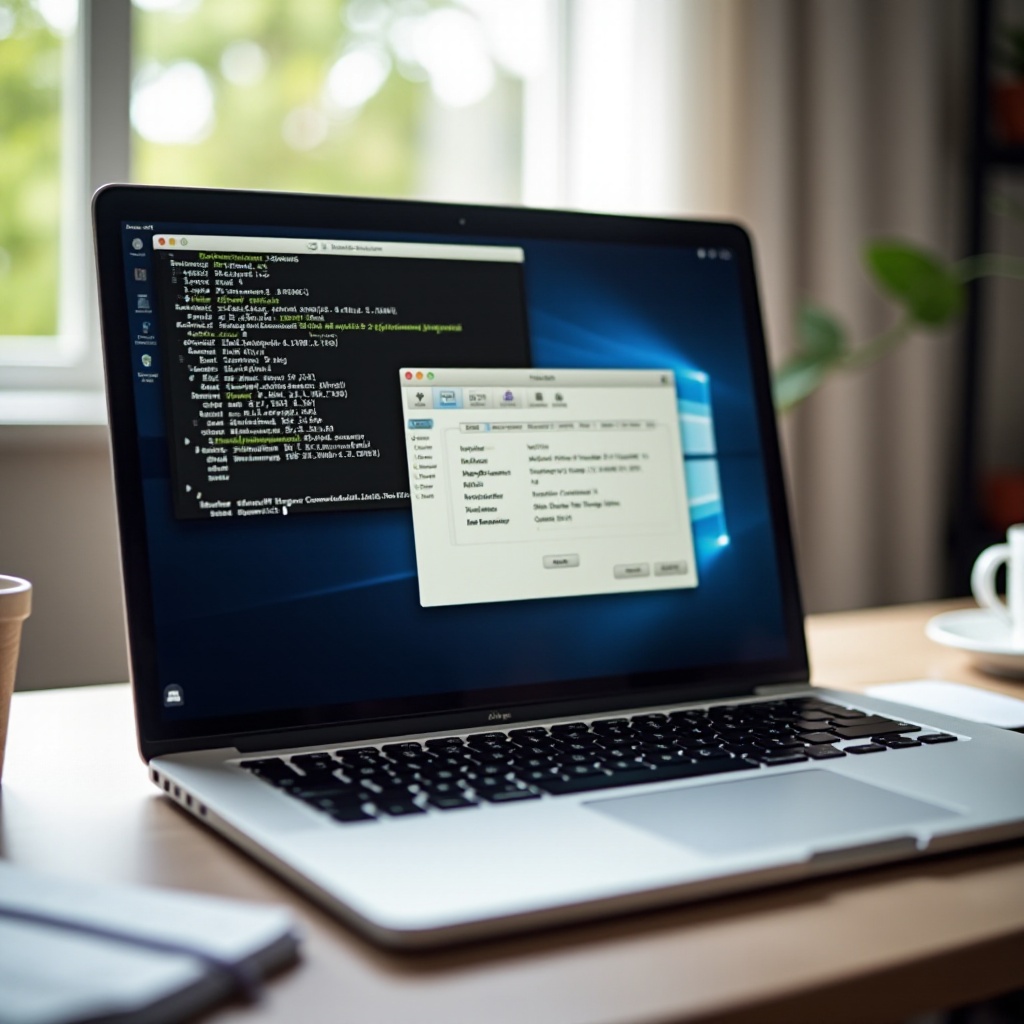
Using the Terminal for Manual Installation
- Open Terminal: Navigate to ‘Applications’ > ‘Utilities’ > ‘Terminal.
- Change directory to where the XAMPP installer is located, e.g.,
cd Downloads. - Run the installer with sudo privileges:
sudo ./xampp-installer-xyz.run(replacexampp-installer-xyz.runwith your installer’s actual filename). - Follow the on-screen installation instructions in Terminal.
Following these steps can help resolve common installation issues and lead to a successful XAMPP setup on your MacBook.

Post-Installation Configuration
Once the installation is complete, proper configuration ensures XAMPP runs smoothly.
1. Start XAMPP: Open the XAMPP application and ensure all components start without errors.
2. Default Ports: Ensure Apache is listening on ports 80/443 and MySQL on 3306. Correct any conflicts as necessary.
3. Permissions: Fix permissions for the htdocs folder and other directories under XAMPP:
– Open Terminal.
– Run sudo chmod -R 755 /Applications/XAMPP/htdocs to set correct permissions.
These configurations will help you maintain an efficient development environment with XAMPP.
Conclusion
XAMPP remains a valuable tool for developers, enabling local server environments for testing and development. While installation issues on a MacBook can be frustrating, following this guide helps resolve these common problems efficiently. You can leverage XAMPP’s full potential with minimal disruption by ensuring system compatibility, addressing disk space and permission concerns, resolving port conflicts, and configuring post-installation settings.
Frequently Asked Questions
What do I do if XAMPP can’t access the ports?
If XAMPP can’t access the necessary ports (80/443), use Terminal to check for and resolve port conflicts. Reconfigure or terminate any processes using these ports.
How can I manually resolve permissions issues?
Use Terminal to change the permissions of XAMPP directories. Commands like `sudo chmod -R 755
Where can I find more help or resources?
For more help, visit the [XAMPP community forums](https://community.apachefriends.org/), check the [official documentation](https://www.apachefriends.org/docs/), or seek assistance from relevant online developer communities.